Step By Step Instructions For Building A Concrete Fish Pond In Your Garden.
If you’re looking at creating an attractive water feature for your garden, yourself, consider a concrete fish pond. Not sure how to build a pond? Well read on because I’m happy to show you how to build a concrete pond with just 10 steps.
As a professional Master Landscaper, with over 30 years experience landscaping, these instructions on how to build a fish pond outside in your garden are what I follow when asked to build fish ponds for clients, one of the most popular garden features Adelaide residents ask us to construct for them.
Select a suitable area for your pond.
You will require a filter, pump or both, so make sure there’s an electrical power point near by. Try to place the pond away from trees, especially if they drop leaves, you will be creating a lot of maintenance removing them from your pond. Tree roots from close trees and shrubs may also cause issues.
Mark the outline of your pond.
Using rope, mark the outline of your pond and streams. Kidney shapes are popular pond designs; you probably want something that is not too symmetrical to make your concrete garden pond look as natural as possible. It is also a good idea to leave enough area around you pond for landscaping with rocks and plants. Once you are happy with the shape, use spray paint to paint the outline of your pond.
Excavate the pond
After verifying that there are not any buried utilities where you plan to dig, it’s time to excavate. You can either dig your pond with a shovel or rent a back hoe. Your pond should be dug with a variety of depth levels so you can utilise these levels as shelves for water plants. To build these shelves, you need to hand dig the edges of the pond with a shovel to get the chiseled edges you desire. Plan on having your perimeter edge at least 10cm above the desired water level of the pond. Allowing for 200mm of concrete, dig your hole to about 800mm deep in the middle, so you will end up with water about 600mm in depth.
Allow for the overflow drain
To make sure that when the pond gets full during a heavy rain, it does not flood your garden, you will have to make sure you install a drain that connects to the storm water pipe. The water level you desire in the pond should be about 25mm below the level of the drain.
Allow for your filter
Filters are definitely required if you are building a concrete fish pond, to keep the water as clean as possible. There are many on the market, some contain biological filters, with the more expensive ones allowing for easy cleaning and ‘back washing’. It is a good idea to have easy access to your filter and they are often placed into the ground, hiding them from site if access is from the top.
Line with ‘Forticon’ plastic and mesh
Using a heavy duty forticon plastic which acts as a water proof membrane completely cover your pond area. If there is more than one section, be sure to overlap them a few inches. Do your best to make the plastic conform to the shape of your pond and plant shelves. Don’t trim the extra forticon plastic until you have filled the pond. Next lay down a heavy duty mesh which gives added strength to the concrete
Pour the concrete
It is very difficult to gain a good structural integrity of the concrete across a large area by mixing up concrete from bags yourself. A truck delivered the concrete pre mixed with a waterproof additive which was then poured in using a wheel barrow and ‘trowelled’ into place.
Add river pebbles
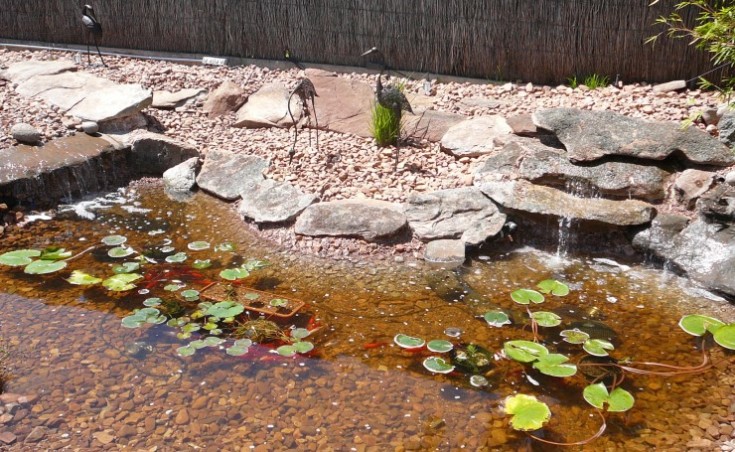
River pebbles provide surface area for necessary bacteria as well as adding natural beauty to your concrete pond. Start by placing the pebbles on the vertical walls, working your way down, stamping them into the concrete while it is still wet; you could also add some larger rocks if you wish as focal points. Once the walls have been covered, fill the horizontal areas with pebbles to a depth of about 500mm.
Install the overflow drain
Connecting the overflow drain to the storm water pipe means digging a trench and should be done with a great deal of care. A licensed landscaper should be called upon to make sure the connection is sealed correctly if you are in anyway unsure about what you are doing.
Install the pump and filter
Typically your pump sits in the pond at its deepest point, pumping the water up through a filter which is then returned to the pond by way of a waterfall or as in this case, a ‘swale’ was formed to provide a creek bed; also covered with river pebbles that drains into the main pond. Flexible hosing of 40mm was used to connect the pump to the filter and to the creek bed.
You can now fill your concrete fish pond with water from a garden hose.
Finishing touches
Your concrete garden fish pond is now complete and is ready to have some landscaping around your pond area. Trim away any of the forticon plastic, leaving about 100mm of the plastic when trimming then bury it with small stones. When your water level reaches the desired level, turn on your pump and let it begin to work. There will be a great deal of cloudiness in the pond from the dirt and rocks. It will go away in a couple of days. Let the water in the pond sit for a few days before adding any fish or plants to it. You can add large rocks around the edge of your garden pond, ornaments bought from garden supply shops, seats or like we did for this garden fish pond, a crazy paved slate platform to view the fish. This was achieved by laying a 100mm reinforced concrete pad, laying the pieces of slate before finishing with a black oxide grout.
Low voltage garden lighting is available from most hardware shops and makes the pond a spectacular sight at night.
Notes:
Make sure the soil is elevated around the pond so that water doesn’t drain into it. Most of the dirt from digging your garden fish pond may come in very handy in making sure your perimeter edge flat, creating higher ground for your stream, build areas for landscaping and to bury your flexible piping.
A cheaper alternative is to use a flexible liner instead of concrete, which we do not recommend. If you are however contemplating this, use one made specifically for ponds or pools. Otherwise, it may break down upon exposure to ultraviolet light, and can even be toxic to your fish.
As with all garden features, installation of ponds with garden lights, in fact all aspects of landscaping your garden can be completed by using the team of licensed Master Landscapers from landscaping company Visual Landscape Gardening, so all you’ll have left to do is sit back, relax and enjoy your stunning new front or backyard design.


 Paving And Landscaping Garden Feature
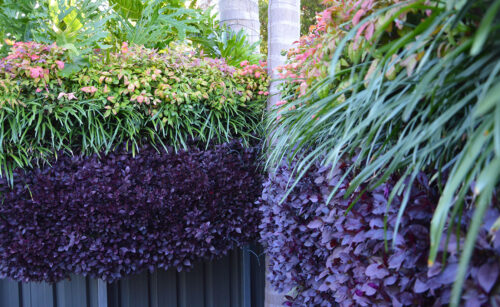 Vertical Garden Features Adelaide
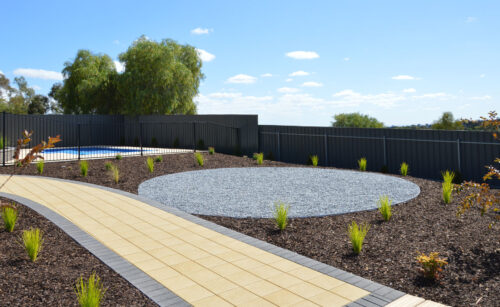
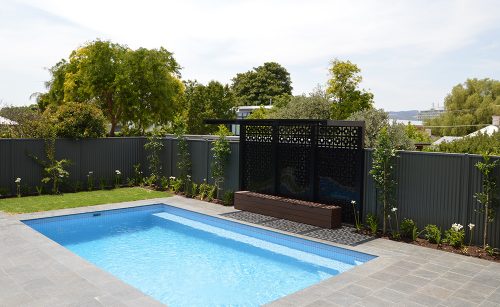 Pool Paving And Landscaping Adelaide Backyard